When planning a print I usually start with drawings and reference photographs, especially if the final print is going to be about a certain place. When there is no requirement for this type of accuracy, but more of an impression of a place then the initial artwork is often composed to create a feeling of the place. This was the case with “White Chalk Path”
The print developed from studies done on The Ridgeway, an ancient Neolithic walkway that is one of the longest footpaths in England. The print was always going to be a multi-coloured image and I have photographed each stage of the process from first to last colour.
An elimination print requires each colour to be superimposed on top of the previous colour, cutting away what has just been printed in order to preserve that colour and then printing the next in sequence, working from light to dark.
The sequence of images show how each colour was laid down, cutting done, and the next colour printed. In this print there are seven colours. The block gets successively reduced as each colour gets darker until there is little left.
The original drawing with colour notes and print process planned

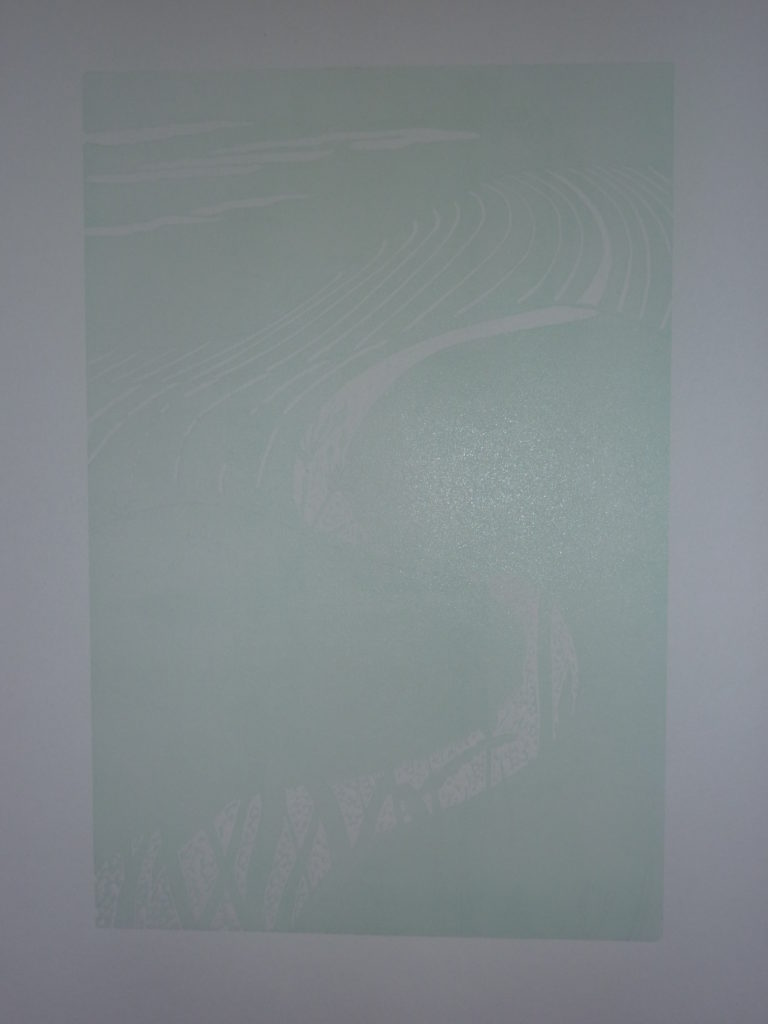
The first colour, in this case a very pale blue to show the sky
The second colour, pale yellow printed over the blue. The blue sky has been removed from the lino block to prevent the yellow from covering it.

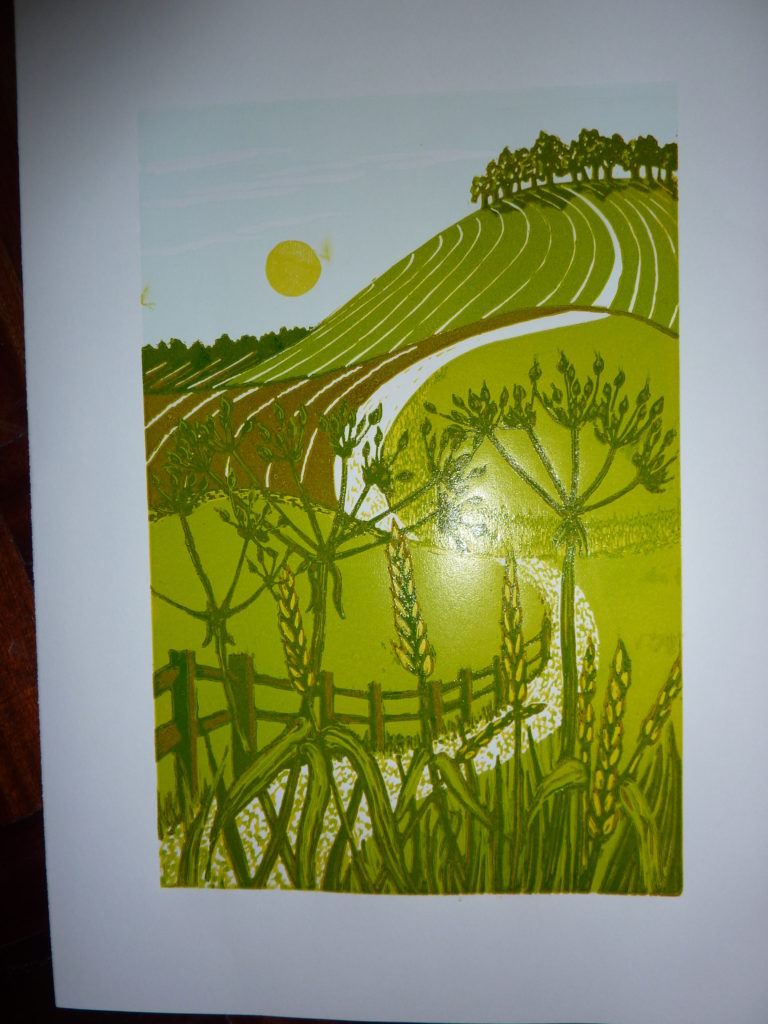
The third colour, pale green over the yellow

The fourth colour, dark green over the pale green

The fifth colour, brown

The lino block showing the gradual reduction. Note the Sellotape covering the background. This enables the removal of unwanted ink.

The sixth colour, green/blue
The lino block with more areas removed

Seventh colour, green, blue, and black ink. This is the final print in an edition of twenty prints.

The lino block after the final colour has been printed showing how much lino has been removed.
